How to Monitor a Reptile Enclosure Remotely: Wi-Fi Alerts, Probe Placement, and Fail-Safes
This post contains affiliate links. As an Amazon Associate, I earn from qualifying purchases at no extra cost to you.
A reptile thermometer is not interesting until the enclosure goes wrong. Then it becomes one of the most important pieces of equipment you own—and the gap between a device that told you something happened and a system that alerted you in time to prevent harm becomes very clear.
Remote monitoring is not about any single sensor. It is about architecture: knowing which layer of your setup detects a problem, which layer limits the damage, which layer sends the notification, and what you do when it arrives. This guide walks through building that system—probe placement strategy, alert threshold design, Wi-Fi failure modes, calibration checks, and escalation plans—using three sensors that represent distinct layers of a complete monitoring setup.
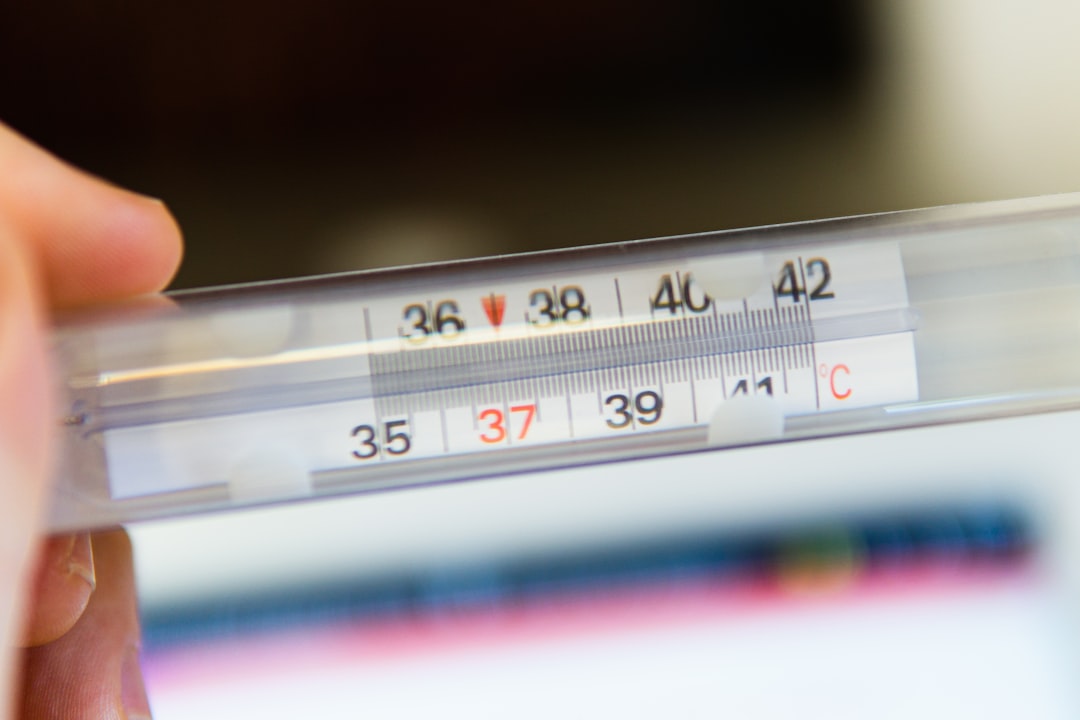
Photo by Matteo Fusco on Unsplash
The Three-Layer Monitoring Stack
Think of enclosure monitoring in functional layers rather than as a single device doing one job.
Layer 1 — Local ground-truth sensors. These are simple displays placed at the animal’s inhabited zones. They require no network, no app, and no radio signal. When every other system fails, they still work. They are also the sensors you check when a remote alert fires to confirm whether the problem is real or an artifact of sensor displacement or connectivity loss.
The JEDEW 2-pack digital thermometer and hygrometer is designed for this role. Two units allow simultaneous monitoring of the warm and cool ends of one enclosure, which is what the animal actually uses. The gradient between those two readings is a more meaningful welfare metric than either point alone. These local displays also serve as the independent reference when troubleshooting a suspect remote alert.
Layer 2 — Wired probe sensors. Some enclosures make local sensor placement difficult. Highly humid vivariums, rack systems, and cabinets where you want the display outside the habitat benefit from a wired design that separates the sensing element from the readout.
The REPTI ZOO wired thermometer and hygrometer places the probe inside while keeping the display outside, which reduces moisture exposure to the electronics and makes readings easier to check consistently. Consistent checking is how gradual drift gets noticed before it becomes a problem.
Layer 3 — Wi-Fi alert sensors. These are the notification layer. They extend your monitoring outside the room, log historical trend data, and send push notifications when readings cross configured thresholds.
The Govee H5179 Wi-Fi thermometer and hygrometer connects to your home network, logs readings to the app, and issues alerts when conditions exceed the limits you set. Reviewing trend data in the app can reveal an overnight temperature drop that a spot check would never catch, a humidity spike that never fully resolves between misting sessions, or a warm side that takes progressively longer to recover after feeding—a sign that heating equipment is losing performance.
The design principle that binds all three: no layer replaces another. The Wi-Fi sensor does not replace local displays. Local displays do not replace thermostatic control on every heat source. And monitoring sensors at any tier do not replace a correctly matched thermostat. A push notification cannot shut off a runaway heater. Only a functioning thermostat can do that.
Probe Placement: Where the System Tells the Truth
A monitoring system is only as reliable as where its sensors are positioned. Stable, plausible-looking readings from the wrong location can mask a collapsed gradient or a dangerous microclimate.
What makes a placement wrong:
Mounting at eye level on the back glass is convenient and almost always irrelevant to a ground-dwelling animal. A leopard gecko sheltering beneath substrate and a crested gecko clinging to a branch at 2 a.m. are both experiencing a microclimate different from what the sensor on the back wall is reporting. Position sensors at approximately the animal’s occupied height in each zone.
Placing the warm-side sensor directly adjacent to the heat source measures heater output, not the temperature the animal can actually reach and use. Move the probe to the accessible warm zone—near the warm hide entrance, or slightly above the heat mat—not on top of the mat or directly under the lamp.
Pointing a humidity sensor toward a misting nozzle or wet moss creates temporarily saturated readings that take hours to clear. That spike does not represent the ambient microclimate the animal inhabits; it represents a water source. Place it in the air column the animal moves through.
Bundling the monitoring probe with the thermostat probe defeats the purpose of having both. The thermostat sensor controls the heater; it is positioned and calibrated for that function. The monitoring sensor is an independent verification that the control system is producing the expected result. If a probe shifts, gets covered by substrate, or fails while displaying a frozen reading, the monitoring sensor catches it—but only if the two are positioned independently. Keep them close enough to describe the same zone, but do not bind them into the same location.
Placement protocol:
- Map every zone the animal uses: warm hide entrance, cool retreat, humid hide interior if relevant, and vertical range for arboreal species.
- Assign a sensor to each zone that matters. An unmeasured zone is a guessed zone.
- After placing a sensor, allow it to stabilize for the period specified by its manufacturer before treating the reading as a baseline.
- Confirm no probe is in contact with substrate, glass surfaces, heating elements, or cable bundles that could skew the reading.
- After any enclosure rebuild or significant rearrangement, re-verify all probe positions before trusting the data.
The Merck Veterinary Manual reptile husbandry guidance emphasizes that reptiles require access to appropriate environmental choices, meaning the thermal and humidity gradients must actually exist and be accessible—not merely be assumed because equipment is running. A monitoring system that maps those zones directly is the only way to confirm that assumption.
Building the Alert Architecture
An alert system that fires constantly is operationally worse than no alerts. Constant notifications train you to dismiss them, and the one notification that matters gets dismissed along with everything else. An alert system calibrated too wide provides false security. Getting the thresholds right is a configuration step that requires real attention, not a set-it-and-forget-it decision.
Threshold-setting process:
Start wider than you think necessary. During the first week of operation, use limits broad enough that normal heating cycles, misting events, and door openings do not trigger notifications. The goal is to learn what the normal variability envelope looks like: what is the overnight low, what happens to humidity immediately after misting, how long does the warm side take to recover after the enclosure is opened for feeding?
The Govee H5179’s app history is particularly useful here. Reviewing temperature and humidity history shows the natural range the enclosure moves through under normal conditions. Once you understand that envelope, set alert thresholds just outside it—at the point where a deviation warrants action, not at the boundary of the ideal husbandry range.
The key distinction:
The ideal range is where you want conditions to be. The alert threshold is where conditions have deviated enough to require a response. These are not the same numbers. If the warm side targets 85°F, an alert at 82°F will fire during every normal overnight temperature drop. An alert set at a temperature outside the species’ safe thermoregulation window—verified against a source like the Merck Veterinary Manual—is actionable. Know your species’ welfare limits rather than treating the monitoring threshold as a way to police the target temperature.
For humidity, instantaneous alerts are often counterproductive. Humidity naturally spikes after misting and falls through the day. Where the app supports delayed or sustained alerts, configure them around the enclosure’s normal cycle and the species’ requirements rather than reacting to every momentary change.
Escalation design:
If you travel, identify who can physically reach the enclosure and what they should do when an alert fires. An alert that no one can act on is not a safety system—it is documentation of a problem after harm has already occurred. Define an escalation chain before you need it: first alert to your device, a follow-up if unacknowledged, and a direct message to a contact who has access and basic instructions. Test the chain before a trip, not during one.
Wi-Fi Failure Modes and How to Design Around Them
Consumer IoT hardware is genuinely useful and genuinely fragile. Understanding the specific failure modes of Wi-Fi monitoring lets you design around them rather than be surprised by them during an absence.
Router reboot or network outage. During an offline window, remote alerts may not be transmitted. Test how your specific device reports a lost connection and whether it reconnects automatically after power and network service return.
Design response: Local sensors operate regardless of network status. A person in the room can read the JEDEW two-pack display without any connectivity. Never make the Wi-Fi sensor the only sensor.
Battery failure. Learn how the app displays low battery, an offline device, and a last-known reading. A historical value must not be mistaken for a current measurement.
Design response: Record installation dates. Set a calendar reminder to check battery status monthly. Use the battery level indicator in the app rather than inferring operational status from a steady connection icon.
App server outage. Cloud-connected sensors route alert delivery through manufacturer servers. If those servers are unavailable, notifications stop regardless of local network status. This is rare but has happened with consumer IoT platforms.
Design response: Treat the Wi-Fi layer as one component of a redundant system. Local sensors provide direct confirmation independent of server uptime.
Signal attenuation. Racks, dense wooden cabinets, glass panels, and physical distance from the router all degrade the Wi-Fi signal. A sensor that connects reliably during setup in an open room may experience repeated dropouts once installed inside a closed cabinet filled with other equipment.
Design response: Before committing a sensor to a difficult location, run it there for 24–48 hours and review the connection log for dropout events. If instability appears, reposition the router, add an extender, or use a wired probe configuration that keeps the radio module outside the enclosure.
Probe displacement by the animal. A sensor an animal can move is a sensor that can be reporting from a different location without your knowledge. Larger lizards, heavy-bodied snakes, and active climbing species are all capable of dislodging a loosely mounted probe. A sudden drop to ambient room temperature on the warm-side sensor is more likely probe displacement than a catastrophic heater failure—but both possibilities need to be ruled out quickly.
Design response: Mount sensors with hardware that does not flex or pull loose under animal contact. Inspect probe positions during every cleaning session.
Power outages:
A power outage is the scenario where monitoring provides the least protection. When power goes out, heaters go out regardless of thermostat settings, and an alert to your phone does not heat an enclosure. The response plan must be species-specific and prepared in advance. Do not improvise with an unregulated heat source inside or against an enclosure. Ask an experienced reptile veterinarian about an appropriate emergency-temperature plan for the animals you keep.
Calibration Checks and Drift Detection
Consumer sensors can drift or become damaged, especially when used outside their rated moisture range. Treating verification as a one-time setup step creates a slow-moving reliability problem that may be difficult to notice.
Practical calibration methods without laboratory equipment:
Side-by-side comparison. Place two sensors in the same stable location, following their placement instructions, and allow both to stabilize. Compare the difference with each device’s published tolerance. If they disagree beyond those tolerances, compare them with a trusted reference or replace the suspect unit.
Post-misting recovery check. A humidity sensor that stays at 99% for hours after misting has clearly ended, or one that never recovers to ambient between sessions, has likely sustained moisture damage to the sensing element. Replace it rather than recording the offset and continuing to use it.
Do not immerse or expose a sensor to condensation unless the manufacturer explicitly rates it for that use. Many enclosure monitors are not waterproof.
Calibration log. Record the installation date, initial side-by-side offset, and results of subsequent checks. If a sensor that previously agreed with its pair is now 5°F off, you have the data to act on and a timeline to understand when the drift began.
For breeding projects, incubation setups, or species with narrow viable temperature ranges, maintain a spare sensor and rotate it into service periodically. Confirming that the backup agrees with the primary before an equipment failure is significantly more useful than discovering, in the middle of an emergency, that you cannot trust either reading.
Species-Safe Escalation: What to Do When an Alert Fires
An alert that prompts the wrong response—or no response—does not improve welfare outcomes. Knowing in advance what action is appropriate for each alert type is part of the system design, not an afterthought.
Low temperature alert (heater failure). Verify the reading with a local sensor, then check the heater, thermostat probe position, and power supply. Follow the species-specific emergency plan prepared with qualified husbandry or veterinary guidance rather than improvising rapid temperature changes.
High temperature alert (thermostat failure or heat source runaway). This is the more urgent scenario. Overheating can cause acute distress faster than cold for most species. Disconnect the heat source immediately. Verify with local sensors that the reading is accurate and not the result of a displaced probe. Increase ventilation if doing so is safe. The thermostat is the primary defense against this scenario; the monitoring alert is the backup that catches thermostat failure. If a heat source has been running without effective control, treat this as urgent.
Sustained low humidity alert. Assess substrate moisture, water source condition, and whether room humidity has dropped significantly—common in winter with forced-air heating. Low humidity over multiple days affects shed quality and respiratory health for many species. The RSPCA leopard gecko care guidance frames consistent access to appropriate humidity and humid hides as fundamental welfare requirements, not optional refinements—which is a useful lens for how seriously to treat a sustained humidity deviation compared to a brief daily fluctuation.
Sensor offline alert. Do not dismiss this as a connectivity glitch until you have confirmed the local sensor reading. An offline alert is also consistent with a displaced probe, a battery that failed during an actual enclosure event, or a network failure that has masked what is happening in the room. Verify quickly.
Common Mistakes in Remote Monitoring
Using monitoring as a substitute for thermostatic control. A monitoring device reports what has happened. A thermostat limits what the heater is allowed to do. Both are necessary, and thermostatic control on every heat source is the irreducible foundation. Building an elaborate remote alert layer on top of uncontrolled heat sources creates a well-documented disaster.
Building redundancy in the wrong layer. Multiple premium Wi-Fi sensors on an enclosure with an uncontrolled heat mat provides worse protection than one functional thermostat and a single local sensor. Prioritize control, then monitoring.
Setting thresholds at the target, not the action point. An alert that fires every time the warm side dips below the ideal temperature during a normal overnight cycle provides no useful information and generates alert fatigue. Calibrate thresholds to the point where action is genuinely necessary.
Assuming alert receipt. Notifications can be silenced by phone updates, app log-outs, Do Not Disturb settings, or carrier issues. Test alerts before leaving for a trip, not during it.
Not verifying probe positions after animal activity. A reading that was accurate at setup can be inaccurate by the following week if the animal has moved the probe. Make probe position verification a standard part of every cleaning session, not a one-time configuration step.
Frequently Asked Questions
Do I need a separate monitoring sensor if my thermostat already has a temperature display?
Yes. The thermostat sensor controls the heater; it is positioned and calibrated for that function, not for representing the environment the animal occupies. A monitoring sensor is an independent check that the thermostat is producing the expected result where the animal actually lives. If the thermostat probe shifts, gets covered by substrate, or reads a frozen value while the heater runs continuously, the monitoring sensor is what catches it—provided they are independently positioned.
How often should I test remote alerts?
Before any absence longer than 24 hours. Temporarily lower a threshold until an alert fires, confirm it arrived on the correct device within a reasonable time, then restore the threshold. If you have an escalation contact, verify they can receive and understand the notification. This takes under five minutes and eliminates the most common failure mode: discovering after a problem that the alert system had logged out, notifications were silenced, or the contact’s number had changed.
What should I check first when a remote alert fires?
Check your local sensor reading before taking any action. A remote alert can be triggered by a displaced probe, a connectivity artifact, or calibration drift—not just an actual enclosure emergency. If the local sensor confirms the abnormal reading, proceed with your escalation plan. If the local sensor shows normal conditions, investigate the monitoring sensor itself for displacement, battery status, or drift. Verify before acting, but verify quickly.
Can one Wi-Fi sensor cover multiple enclosures?
One sensor reports from one location. Multiple enclosures each need their own sensing point. If budget is a constraint, prioritize Wi-Fi monitoring for the enclosure where a failure would be most consequential—a species with a narrow safe range, an incubation setup, an animal that is recovering or vulnerable—and use local sensors for lower-risk setups. A mixed system of one Wi-Fi unit and several local sensors is often more cost-effective than equipping every enclosure with connected hardware, and it maintains local ground-truth readings across the whole collection.
Build the System, Not Just the Collection
The gap between a monitoring setup that documents problems and one that prevents them is architecture: the right sensors in the right locations, alert thresholds calibrated to meaningful action points, Wi-Fi failure modes anticipated and designed around, and escalation plans that exist before they are needed.
Start with two well-placed local sensors and a thermostat on every heat source. Add a wired probe where placement flexibility matters. Add Wi-Fi alerts when remote history and notification could genuinely change how quickly you respond to a failure. Then document your normal daytime, nighttime, and post-misting ranges, test your alerts before trips, and verify probe positions on a schedule—because a system that is not maintained is not a system. It is a collection of gadgets that might happen to be useful when you need them.